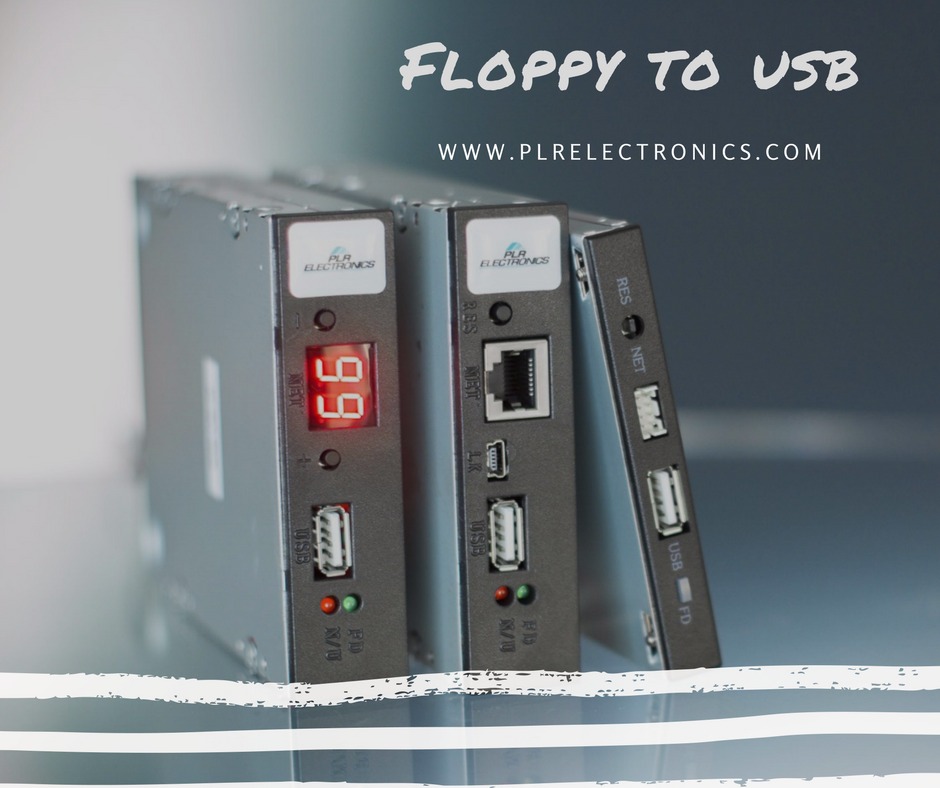
Here is some information that I think might be helpful for you:
USB Floppy Drive Introduction:
Thanks for the purchase!
Our USB Floppy drive is intended to be a drop in replacement for your original floppy drive.
It will pretend to be your floppy drive exactly and make passing files to and from your machine from a USB stick seamless.
It cannot extend the capacity of your machine in any way, as it would not be compatible if it did not emulate your floppy drive exactly. So what your floppy drive gives is what the USB Floppy drive will give.
- Basic Installation and Operation:
In most cases, you should just be able to take your original floppy drive out and put the USB Floppy drive back in with thte same ribbon cable and power plug orientation.
The USB Floppy drive should already be configured for your machine if you had told us your machine type and model upon ordering.
Then you should format one of your own USB sticks in FAT or FAT32 format, then copy a file to it and then check if it can be read. If it does not, then please read through the other hints, then contact us or your distributor for further help.
USB Floppy Drive Operation Hints:
1. USB Stick Preparation:
The drive will only use the first 1.44mb or 720kb worth of files detected.
Please format your USB stick in FAT or FAT32 to remove all hidden windows files and folders, such as ” System Volume ” or ” Recycle Bin “, which will consume this limited space.
They may prevent your design files from showing up. Other formats such as exFAT or NTFS are NOT supported.
2. Try Multiple USB Sticks
Not all USB stick chipsets are compatible. If the USB Floppy drive flashes its red light on and off endlessly when you insert the stick, or if there are problems writing, then try another USB stick.
3. Check the Lights
The two lights on the front right of the USB Floppy drive help to explain status. The green light will light up when your machine has been asked to access the drive. The red light will light up when the USB stick is successfully accessed. If the green light never turns on, there may be a configuration issue. If the green light is on all the time, the ribbon cable is backwars. If the red light never turns on with the green light, there is a problem with the stick, please reformat, then try again, if the problem persists, please try another brand of USB Stick.
- USB Floppy Drive Installation Notes:
The large ribbon cable on the back of your floppy drive transfers data and control signals. One side is pin 1 and the other side is pin 34. Usually there is a red stripe on your ribbon cable to show pin 1, which is important because the cable can be plugged in backwards by accident and the stripe color helps prevent this.
Pin 1 on the USB Floppy drive is the side closest to the 4 pin power plug, with the exception of the “NEC” model of USB Floppy which is on the opposite side. There is also a missing security “pin” on pin 3, which is next to pin 1 and helps tell where pin 1 is. Please note that not every machine uses a red stripe, or even puts the red stripe on the wrong side, so proper green light operation (Included in the following info further down the page) is the best wat to tell. The green light on all the time is a sign that the ribbon cable is backwards.
- Configuration Dipswitches:
There is a long hole on the top of the USB Floppy drive which allows access to configuration dipswitches on the inside. We normally match the configuration to your machine so you don’t have to do anything, but in case there are compatibility issues we may ask you to change these switches with a long, thin tool. The drive will need to power on and off for these changes to take effect.
Hopefully you will find this information to be helpful. Much of what we see successfully resolve and troubleshooting or installation hang-ups is covered in this general text I have provided. Please let me know if you require any additional help with this matter.

